Staining sets the tone for finishing your workpiece. Messing up the staining process results in lots of work to fix any issues before applying a top coat.
#1 Don't skip more than one grit when sanding.
Sanding creates a scratch pattern on the workpiece, consisting of peaks and valleys. Whenever you start working with a finer grit, it should erase the scratch pattern of the previous one and create a smooth surface. Skipping more than one grit in the sequence will just take off the tips of the peaks. The deep scratches of the grit used before are left behind and will result in uneven stain.
#2 Clean the workpiece between sanding steps.
It's ideal to clean between each grit change. Use an air hose, and maybe even an additional dry rag to get rid of all dust and debris to open the wood's pores to accept stain evenly.
What if prepping goes wrong?
How to fix issues on a stained workpiece before applying the top coat? If you end up with one of the following problems, there's an easy solution: sanding.
Main issues that can occur:
- Uneven Stain & Discoloration
- Bubbles
- "Running Look" on the sides
- Rough Surface
- Scratches or Streaking
You can sand your workpiece to get that even surface you need for your topcoat.
While a larger, flat area can be worked on with an orbital sander, we highly recommend hand sanding for the sides. It's easier to control, and will ensure that you don't take off all the stain by using too much pressure.
Related Videos
Recommended Products

PS 77 & FP 77 GreenTec
High quality aluminum oxide grain, with Kling-on, PSA or plain backings, in various sizes and hole pattern options: GreenTec is the latest addition to our coated abrasives line. Anti-loading properties, tear resistance and water resistance make it an ideal product for numerous applications.

PS 33 Discs
PS 33 is our number one choice for universal woodworking applications. It combines a high removal rate for an unbeatable price.
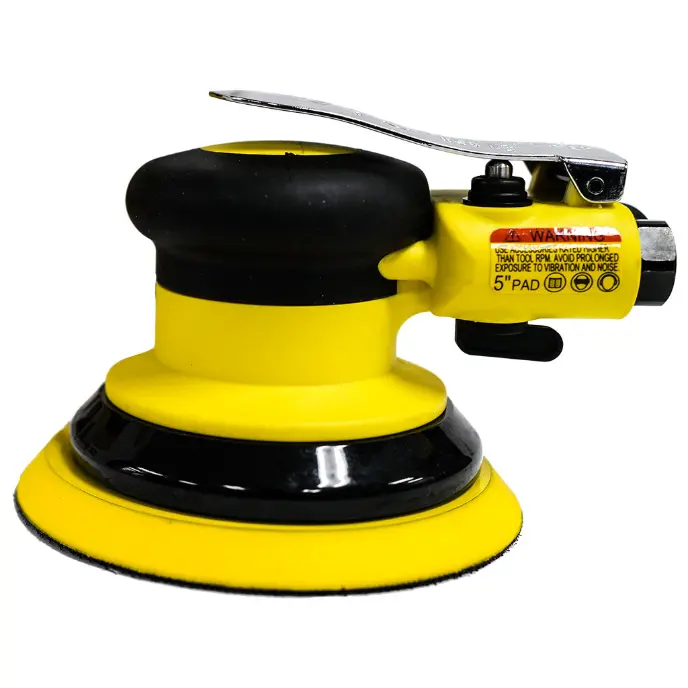
SPARTAN Random Orbital Sander
KLINGSPOR's Spartan Random Orbital Sander is a pneumatic Sander that runs with ease. It's comfortable to use and creates perfect sanding results with minimal effort.
View Products