Step 1: Rip Wood Pieces
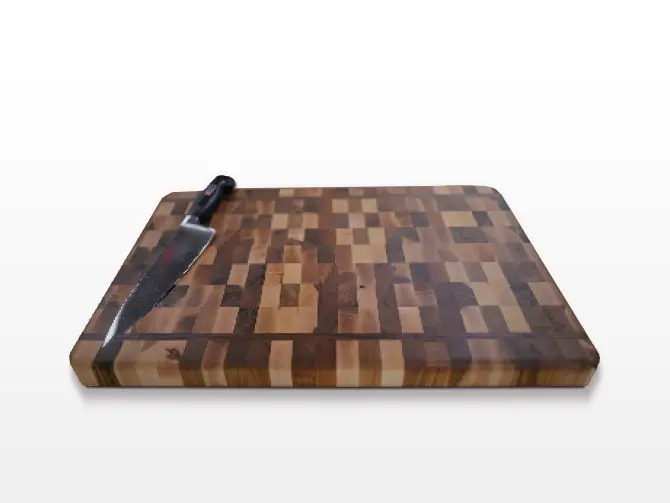
To create an end grain cutting board, gather butcher-block material.
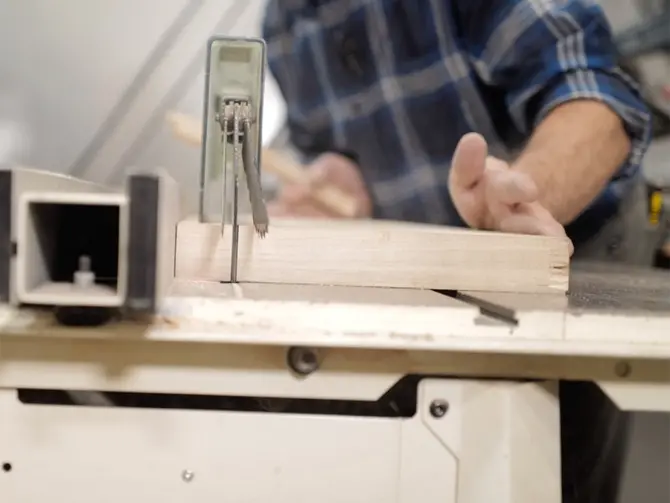
Align board on a table saw and rip wood into strips of the same width as the thickness.
For example, 1.5" x 1.5".
Lay out the pieces and cut the end grain facing up.
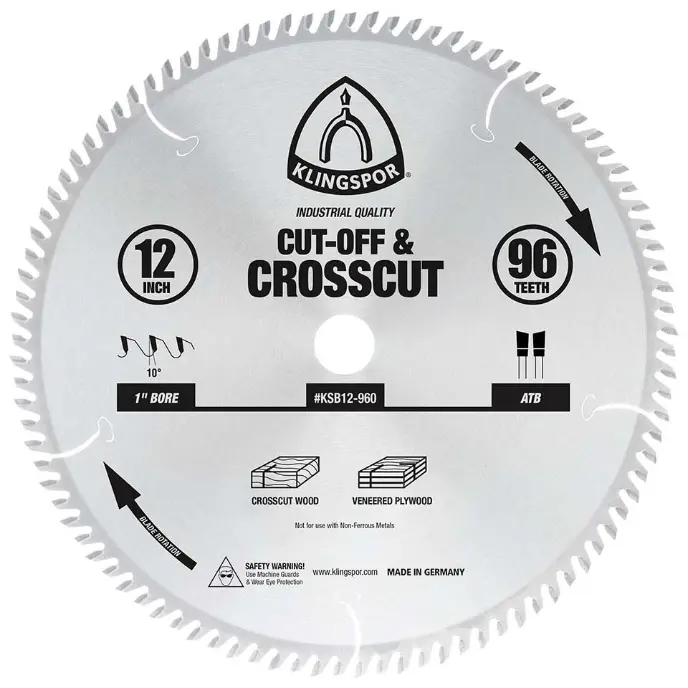
Recommended: KSB10-800 Fine Trim & Crosscut Sawblade
Step 2: Glue Parts Together
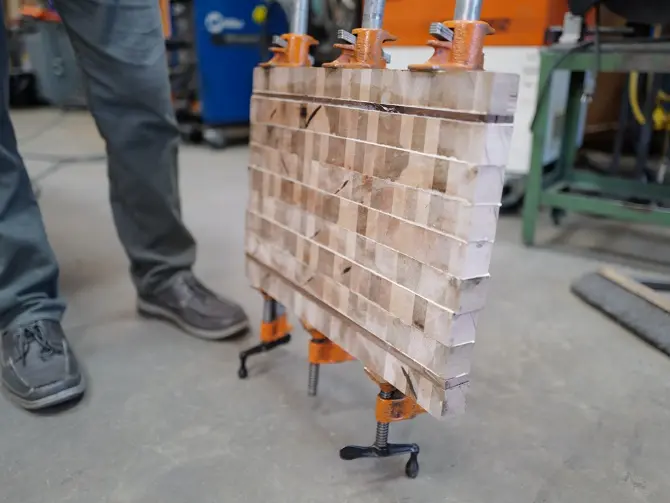
Arrange the wood parts between clamps and turn the side to be glued facing up.
Spread glue generously and evenly on the board with a piece of cardboard, a putty knife, or a brush. This ensures complete coverage.
Then, flip the pieces 1/4 turn with the end grain facing up. Stick the glued sides together and align the ends.
Once arranged, tighten the clamps evenly, a little at a time, until the glue is squeezing out between the joints, and they are tightly joined.
Carefully remove as much excess glue as possible. This can be done with a paint scraper or an old, dull chisel.
Let dry overnight. Then, remove the clamps and run through a table saw to square it up and trim the ends.
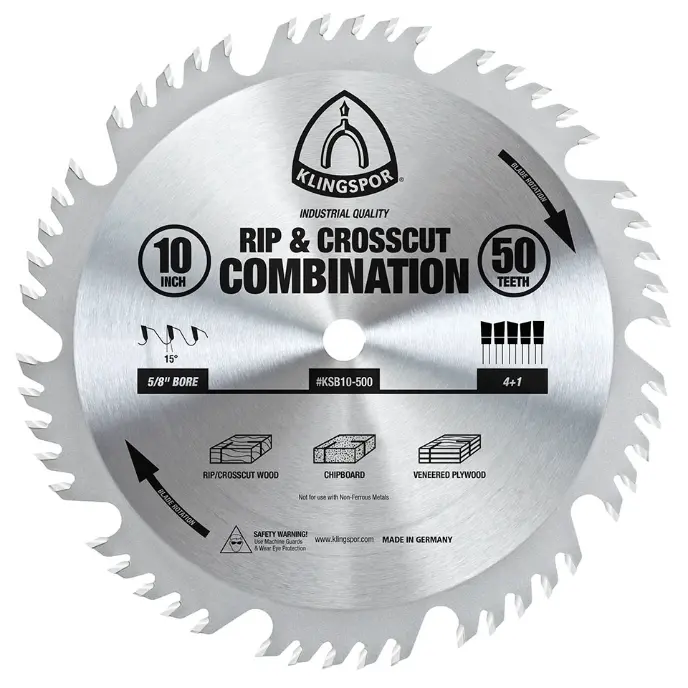
Recommended: KSB10-500 Rip & Crosscut Combination Sawblade
Step 3: Sanding Process
IMPORTANT: Excess glue must be removed before running the board through a wide-belt sander.
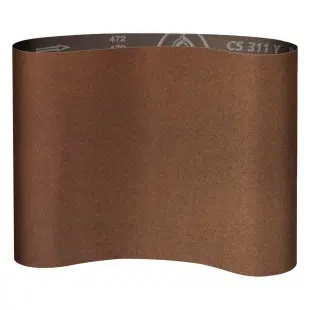
Flatten the board with a wide belt. Add pencil marks on the board to make it easier to follow the progress. We recommend a 60 grit CS311 Y Wide Belt, and then use 80 grit of the same material.
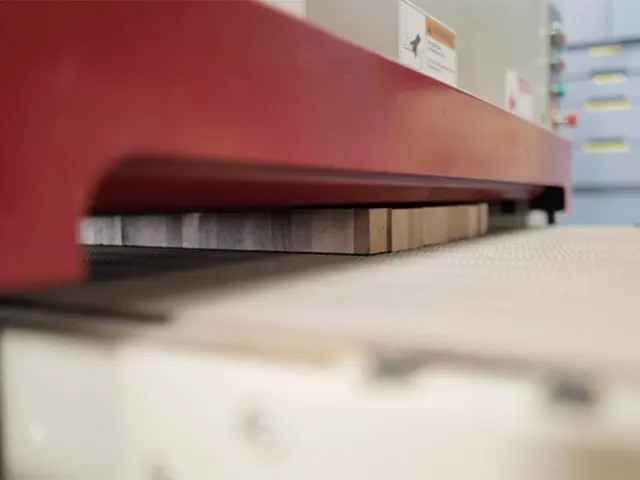
After the wide-belt sanding is complete, prepare the board for finishing with random orbital sanding.
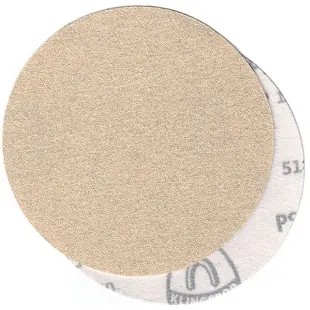
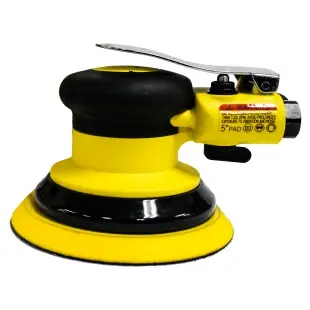
Try using 80 grit PS33 Kling-On Discs (hook and loop) on a Spartan Random Orbital Sander.
Then, follow up with 100, 120, and 180 grit sanding discs.
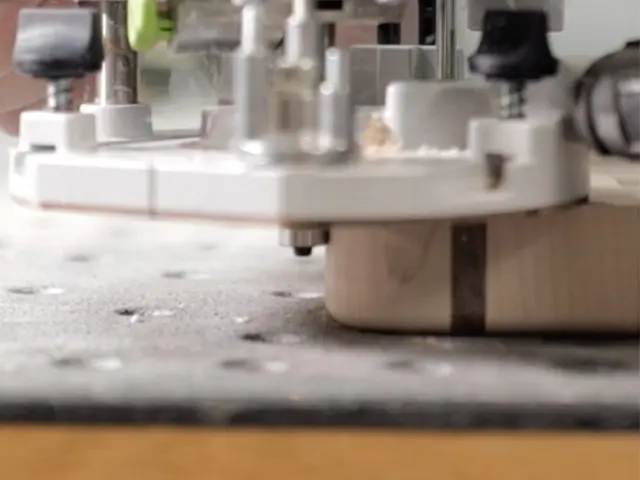
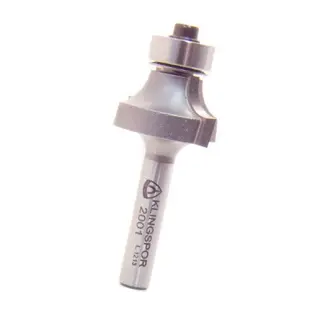
Next, round edges with a 1/4" Roundover Router Bit (#2001).
Sand the entire piece with a 220 grit PS33 Kling-On disc.
Raise the grain by wetting the wood and letting it dry.
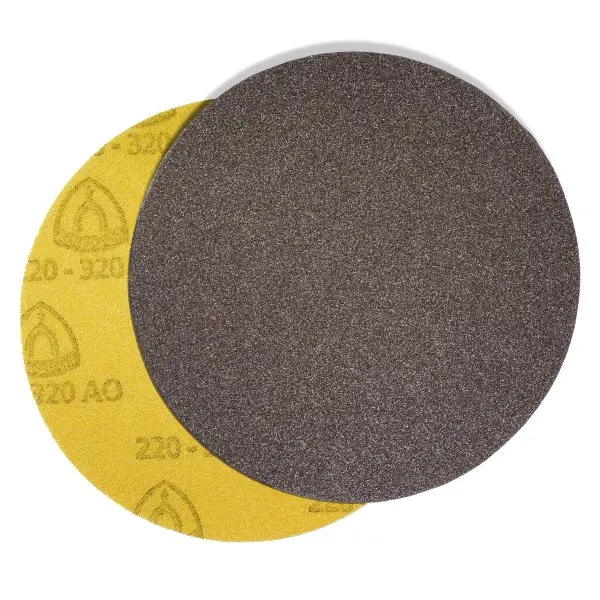
After that, lightly hand-sand the piece with KLINGSPOR's Fusion Foam Disc 280-380 Grit. This disc provides a light scratch that removes the ends of the raised wood fibers without exposing more.

Step 4: Finishing
Blow dust off the work piece and rub it down with a tack cloth to remove any stubborn dust particles.
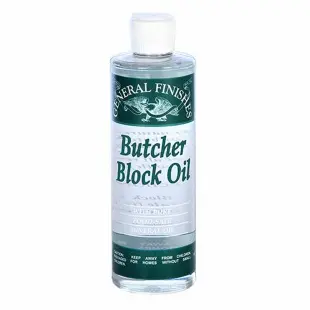
Rub butcher block oil evenly on all parts of the board and wipe off any excess.
Let it dry for several hours. During this time, it will soak up most of the oil and will be ready for application #2.
After 2 to 3 coats, wipe off any excess oil that remains on the surface. Then, let it set to dry for several hours again.
Wipe board with a clean rag, and it is ready for use or display.
Recommended: General Finishes Butcher Block Oil *Exclusive at KLINGSPOR's Woodworking Shop
Did You Know?
- Both maple and walnut are hardwood, which is perfect to use with food. They are not as porous as other softer woods, yet not hard enough to dull a knife.
- Wood will not stick to the metal clamps. Glue expands wood fibers so they bond together, but it easily separates from metal.
- Because the fiber separates when you cut on an end grain board, knives are less likely to leave marks. That is why those boards are typically the most durable and long-lasting.
